Step 1 - Tools & Equipment
|
|
If there is one thing that I would like to impress upon you, it is the benefit of using quality tools to do your work; the end result of any job is plainly due to the use of good quality tools. And there is also a saving by using good tools, because they last longer, and therefore you do not need to replace them as often.
- Stainless Steel Scissors
- Tweezers or other small no maring clamping device
- (Metric) Number Drills & Pin Vice
- Small Files
- Soldering Iron
- Hold & Fold Tool
- Solder & Flux or Solder Paint
- Snap-off Cutting Blade
- Fine Wet & Dry Paper
- 0.4mm brass wire (0.014")
- Burnishing Brush (Be very Careful)
- Selley's Acrylic Quick grip
- Cutting Board
Lets get ready to Moddddddeeeeeelllllll
|
Step 2 - Preparing the Etch
|
|
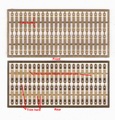
- Re-Read the instructions (Yeah I Know!!!!!!)
- This stage is very simple, carefully cut each astragal out of the etch as you use them.
|
Step 3 - Preparing the Astragal
|
|
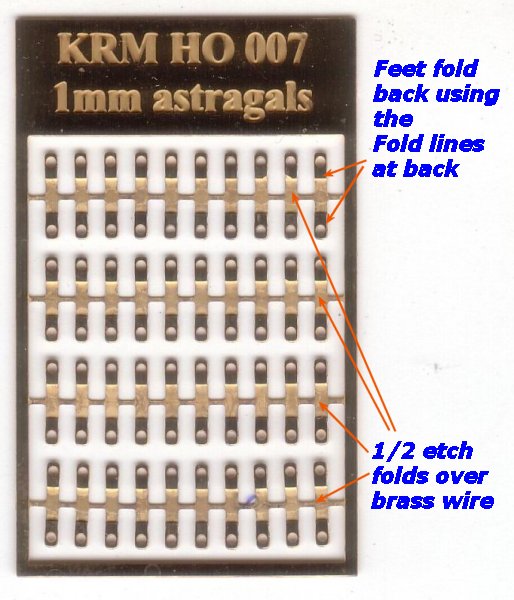
- The astrgals can be used on all types of buildings that have round downpipes.
- After removing the etch from the fret, clean of the tabs, being carefull not to remove any other material(refer to Top photo at left)
- Bend the feet up on the etch along the fold lines at the back of the etch(refer to 2nd photo at left).
- Place the astragal on top of the 1mm wire at the appropriate locotion, and using a pair of small pliers push down so the the astragal takes shape around the wire.(refer to 3rd & 4th photos at left).
- Solder the astragal onto the downpipe, and clean up any excess solder.(refer to 5th & Bottom photos at left).
- Using the holes in the astragal, drill into the side of the building that the downpipe is to fit onto and feed wire through the astragal, with a small section on wire extending out of the Astragal to represent a little bolt detail.
If you have any comments, or ideas as to how I can improve this kit, please don't hesitate to contact me by email or phone on 61
2 46772462
|